 |
 |
||||||||||
 |
|||||||||||
|
Yup, it's yet another project. You'd think I would be exhausted after running the reptile store and rescue, building homemade platforms for my beardies, then making Mojo's winter enclosure. I just keep getting new ideas and having to try them out. For those of you who have always wanted a custom sized glass aquarium or just wanted to save some money and make your own, this article is for you. It is actually very easy to construct a glass aquarium. And if you don't need it to hold water, then its even easier. For this build, I am actually going to use it as a real aquarium and it will need to hold water, and eventually live fish. 1. Glass Type & Thickness - I used standard 1/4" (6mm) thick "plate" glass, also known as "sheet" or "annealed" glass. You will want to ask the glass shop to sand or grind the edges so it will not cut you. DO NOT USE tempered glass. If any amount of damage occurs to the glass, you won't have a tiny leak, you'll have an explosion of tiny pieces of glass all over. I chose 1/4" thick glass as my aquarium was only 14" tall. Aquariums (for holding water) that are taller than 14" will need to be made with 3/8" thick glass. The reason behind this is because water is very heavy. (A gallon of water weighs approximately 10 pounds.) If you are going to use the aquarium to house reptiles, 1/4" will be fine for up to 20" tall, possibly even 2 feet. It just depends on how sturdy you want the tank. Keep in mind that although thicker glass will make a taller aquarium sturdy, but also extremely heavy. 2. Silicone - There is much controversy out there regarding the type of silicone to use. Most websites say to ONLY use "aquarium silicone sealant." What a lot of people don't know is that "aquarium sealant" is exactly the same as regular household silicone - without the anti-mildew chemicals added to it, and silicone marketed for aquarium use is a lot more expensive. Anti-mildew chemicals slowly release toxins over time. These are toxic to fresh and salt water fish, and it's most likely not good for our reptiles either. There are a few brands of silicone that do not include the anti-mildew chemicals. They are: GE Door & Window clear silicone (which I chose to use because I could find it at Lowes), Dow-Corning "DAP", and NAPA All-Glass 100% clear silicone (yes the auto parts store, and its part # 765-1336). Just make sure that whatever silicone you decide to use - read the label. Make sure it doesn't say that it prevents mold and mildew. And don't be alarmed if there is a disclaimer on the tube that says its not for aquarium use. They have to say that so they won't be held liable if your aquarium breaks or doesn't seal properly. And it will make your job so much easier if you get the kind of tube that you can put in a caulking gun. 3. Materials Needed - Plate glass with the edges sanded, 100% silicone sealant, masking or duct tape, caulking gun, and a few large containers or heavy objects for holding up the glass. 4. Cost - The square aquarium I built was 14" square. I needed 5 pieces of 1/4" plate glass ($6 each), 1 tube of silicone ($3), caulking gun (I already had), and masking tape (already had). Total cost: $ 33.00. |
|||||||||||
 |
 |
 |
|||||||||
|
Photo
#1
|
Photo
#2
|
Photo
#3
|
|||||||||
|
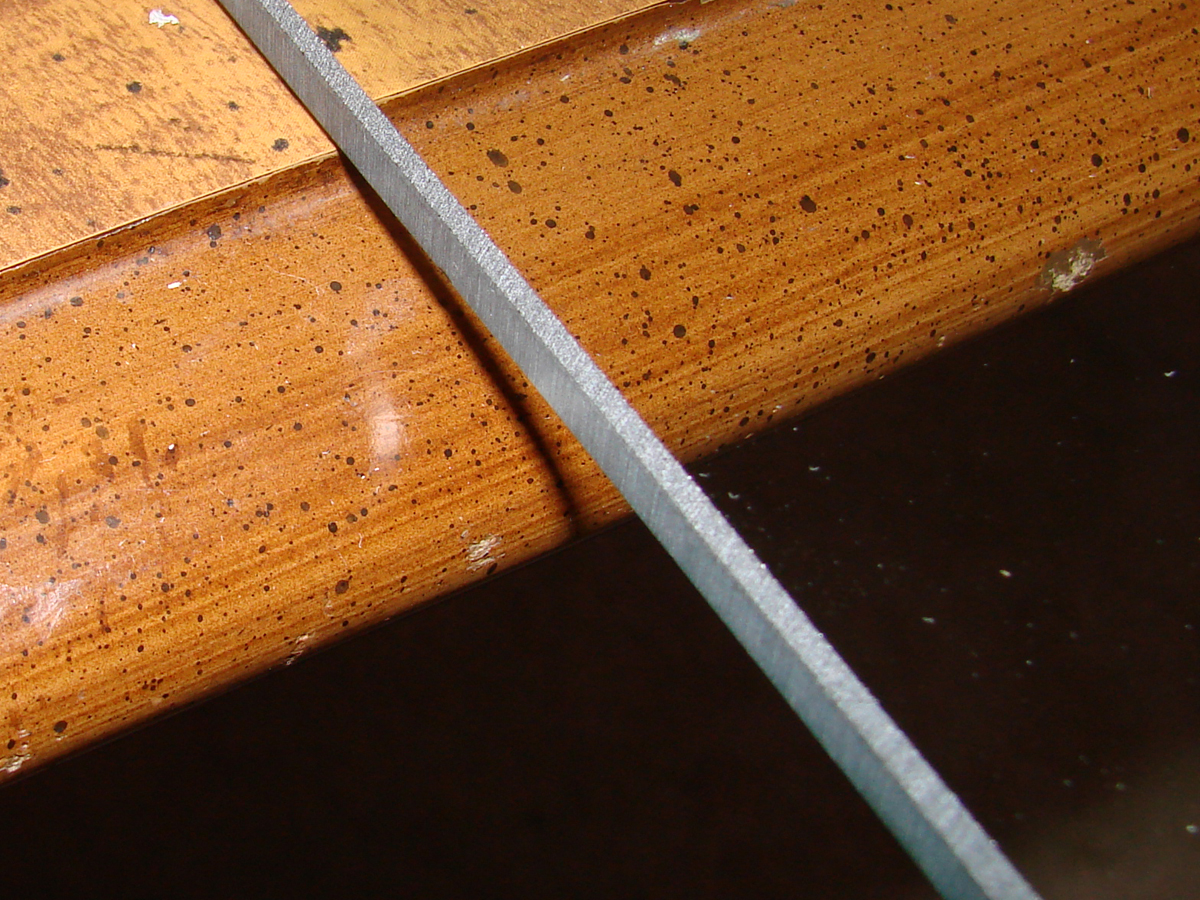
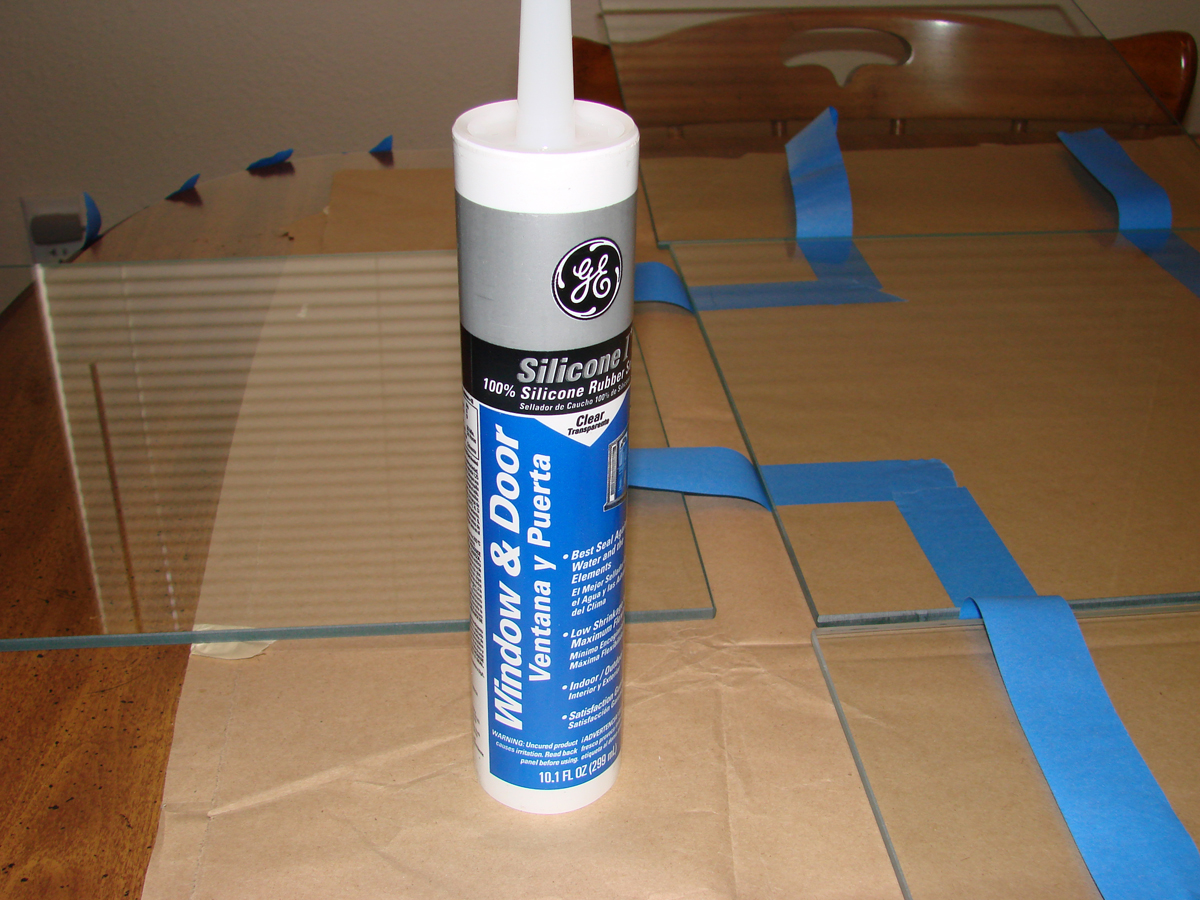
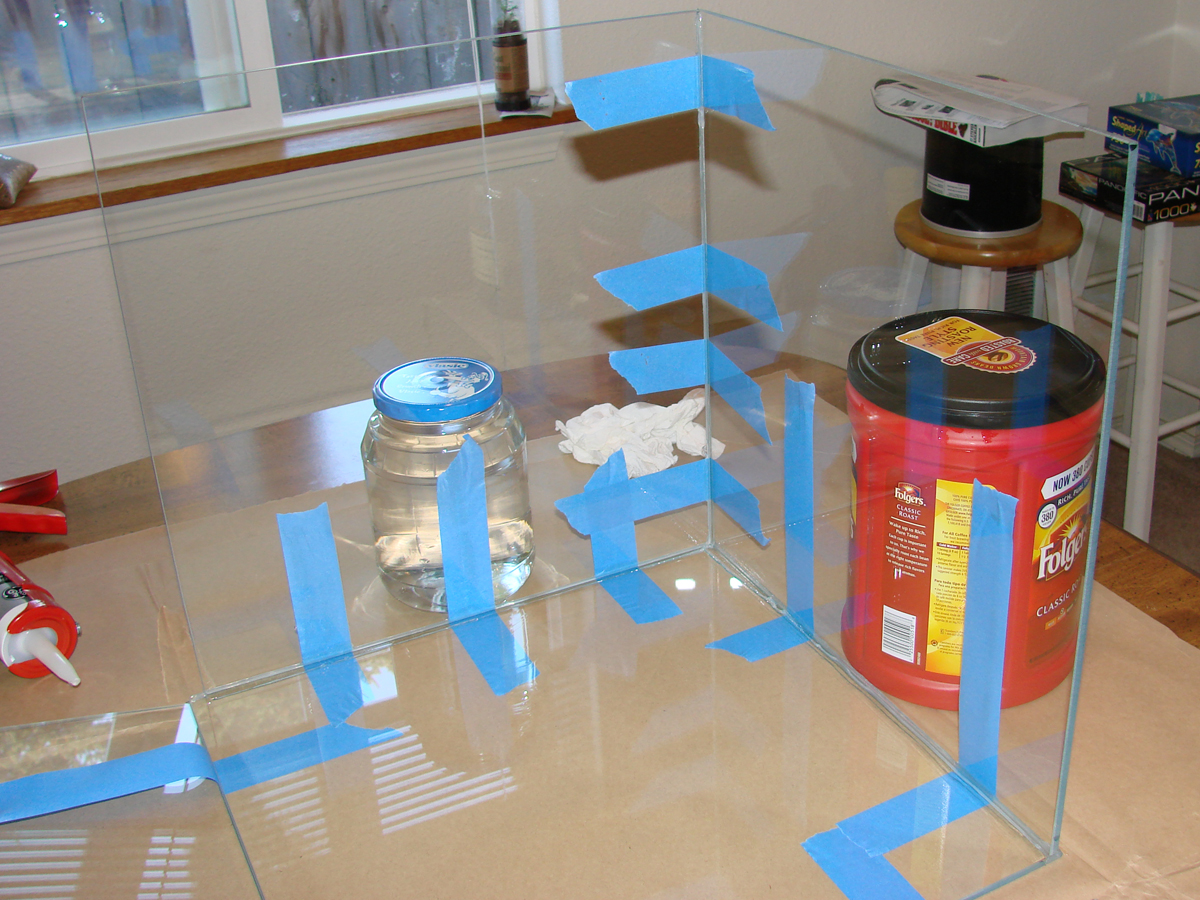
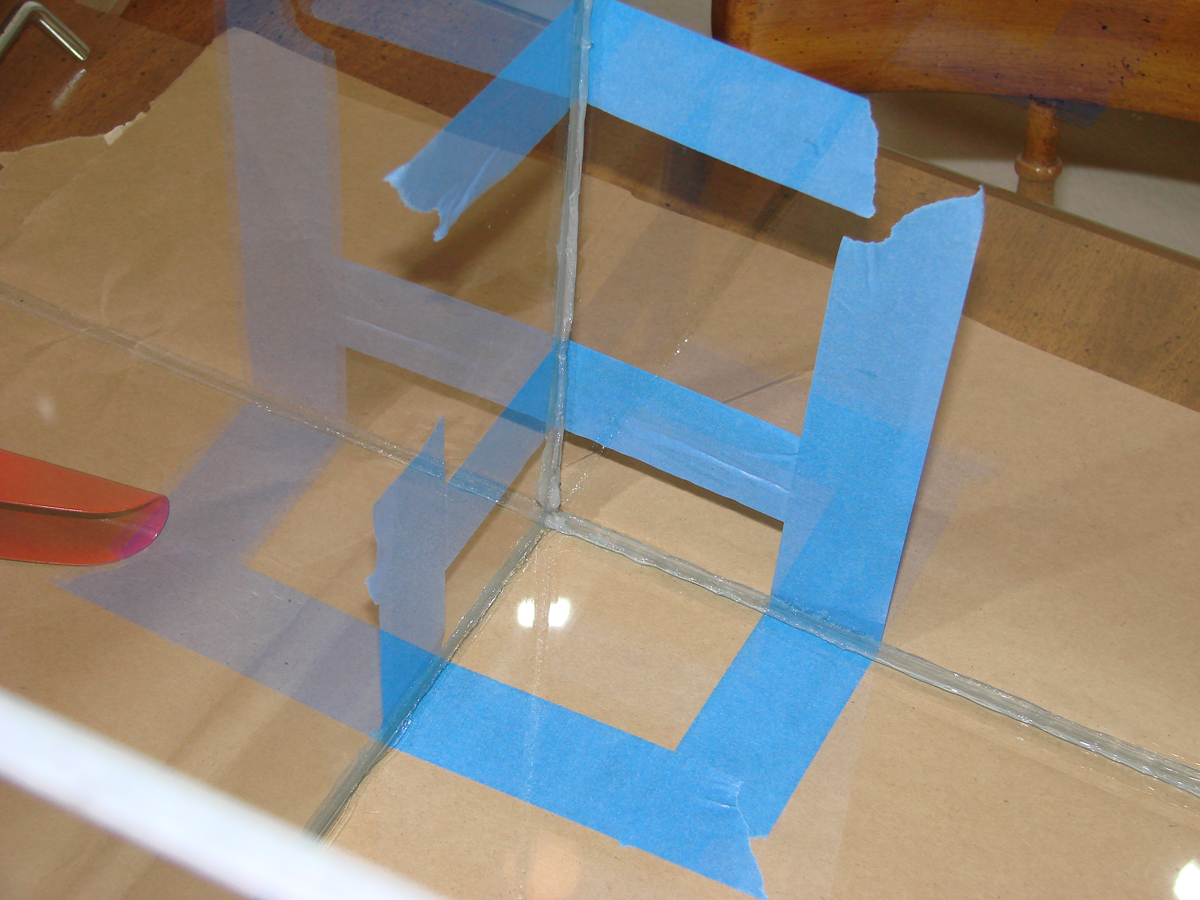
In the 1st photo you can see the sanded/ground edges of the 1/4" plate glass. This is not a bad idea, and it may cost a little bit more to have done, but it's very easy to cut your fingers with as much as you will be handing the glass. Photo #2 is the GE Window and Door silicone that I used, and photo #3 shows how I laid all 5 pieces of glass out to get them ready to assemble and had strips of masking tape ready for use (see below for instructions). 5. Order of Assembly - The order of construction should start with the bottom pane, then put the front pane on, then the 2 side panes, then the back. Doesn't sound so easy does it? I promise once you get started, it won't seem so bad. The side pieces will need to be shorter so they can be sandwiched between the front and back pieces. For my tank, the front, back and bottom pieces were all 14" x 14". But the 2 side pieces were 14" x 13 1/2". If you use a different thickness of glass, you'll have to compensate in your measurements of the side pieces. 6. Installation - If you're not used to a caulk gun, you might want to practice making even lines on something other than your glass, like newspaper or cardboard. You'll need the silicone line to be straight and about 3mm in thickness. When you cut the top of your silicone tube, make sure it's got about a 3mm opening. If you have all your pieces laid out before hand, it will be a lot easier. I put the aquarium together by myself, but if you have someone to help that makes it a little easier, especially for larger aquariums. Step 1 - With all your glass laid out (double check that the shorter pieces are your side pieces) clean all of the edges with acetone or alcohol. Then cut strips of masking tape and stick half of each strip to the underside of the bottom pane and leave the other half of the strip laying on the table (see photo #3). As you install each side, you'll pull the tape up and stick it to the glass. You won't want to have to lift the aquarium up after you've started siliconing the sides - that would get messy! Then cut 16 strips of tape and place them nearby, within easy reach. Apply a thin (3 mm) and continuous strip of silicone along the top of the bottom piece, about 2mm away from the edge. Then place the front piece into place, press it down firmly, but gently into place. Do not wipe off the excess silicone, you can trim or cut it after it has fully cured. The front glass pane should stand up on its own now, but if it doesn't, or if you are afraid you might bump it, you can prop a container (filled with water), or other heavy object, up next to the upright pane of glass for additional support. I thought I would need this, but in the end I really didn't. But it's good to have this on hand just in case (see photo #4). Click here for a silicone diagram (PDF format). The pink lines represent where the lines of silicone are placed, and the pink #'s are the order in which I describe in the installation process. Note: Do not build an aquarium in humid or cold conditions. Tape will not stick well if it's humid, and both humidity and the cold slows down the silicone curing process. Step 2 - Run another thin line of silicone along the bottom pane, 2mm from the edge, for the side panel. And also a line of silicone (3mm wide, 2mm from the edge) along the inside edge of the front pane you just installed. Press the side panel into place, making sure to press down firmly, but gently. Try to get this piece in place the first try - get help if you need it. If you press the glass onto the silicone and then pull it off or re-align it, you could create bubbles in the silicone, which can create a faulty seal later on. The front and side panel should form a tight corner that is properly aligned (see photos 5 and 6). Step 3 - Run another thin line of silicone along the bottom pane, 2mm from the edge, for the second side panel. And also a line of silicone (3mm wide, 2mm from the edge) along the inside edge of the front pane. Press the second side panel into place, making sure to press down firmly, but gently. Step 4 - You will need to run the last 3 thin lines of silicone... along the bottom pane, and 2 along the inside edges of the back panel. Then press the back panel into place, making sure to press down firmly, but gently. |
|||||||||||
 |
 |
 |
|||||||||
|
Photo
#4
|
Photo
#5
|
Photo
#6
|
|||||||||
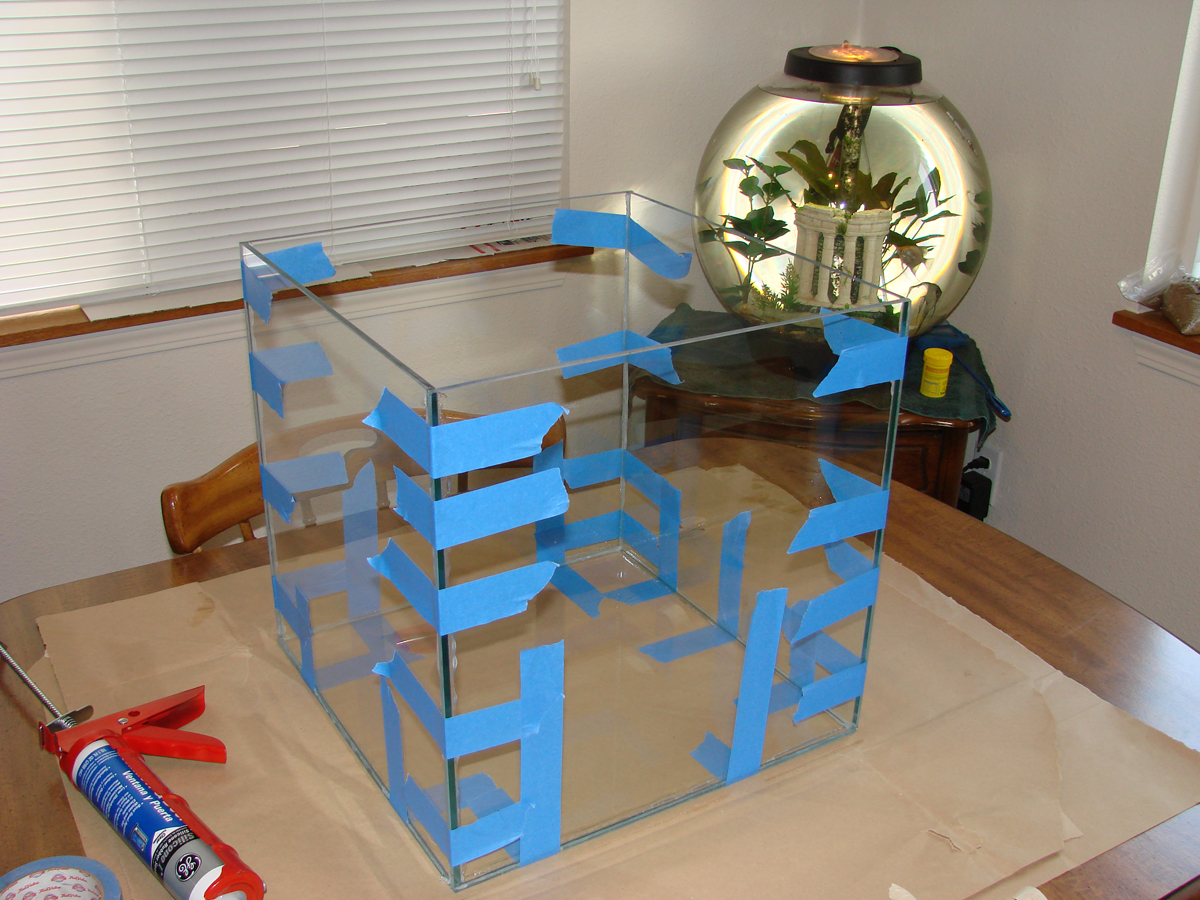
| Step 5 - You're almost done! Go around to each edge and corner seam and make sure they are lined up properly. Because once the silicone starts to set up, you won't be able to move them. The silicone will be dried in 12 - 24 hours (depending on the air temp and humidity), but you should let it sit for at least 24 - 48 hours. Silicone continues to harden the longer it sits, and I highly recommend letting it sit for a full week if you intend to put water in it. See photo #7 - the finished product. | |||||||||||
 |
|||||||||||
|
Photo
#7
|
|||||||||||
|
I will add more photos to this section as I finish the aquarium. I will be making a wood base for it also. |
|||||||||||
 |
|||||||||||
|
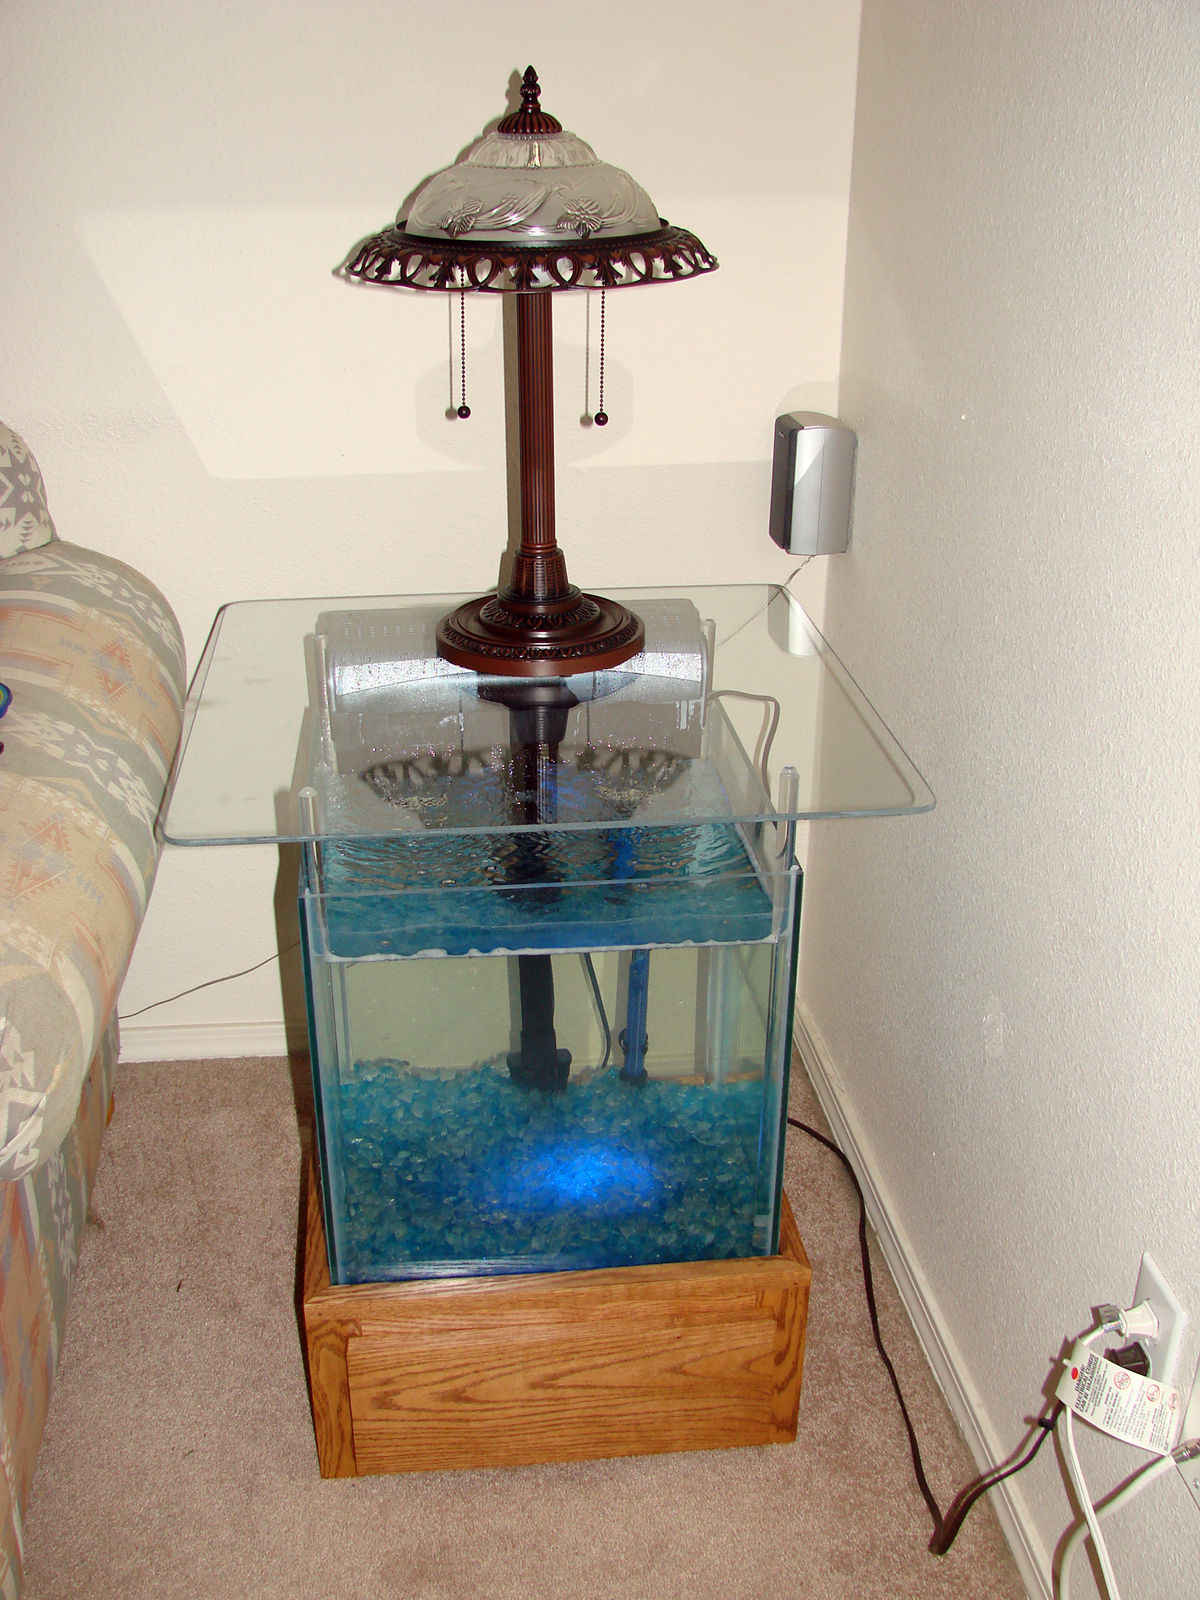
And here it is... the finished end table aquarium with a wood cabinet base and a glass top. I have also installed a color changing LED light in the base that shines up through the glass bottom and the glass rock. Looks amazing at night. |
|||||||||||
| Sorry the video is sideways. Can you hear my husband vacuuming in the background? hahahaha! ;~) | |||||||||||
|
Resources: Here's a handy tool to help figure out what thickness of glass you'll need. http://www.theaquatools.com/building-your-aquarium Need to know how many gallons your custom aquarium will be... here's a page with lots of aquarium calculations, scroll down to find the one for computing the volume of your tank using the dimensions. http://www.fishlore.com/ConversionCalculator.htm |
|||||||||||
|
Email
me with
a pic if you'd like to share your creation or tips with other reptile
enthusiasts.
|
|||||||||||
|
Tips from Nannan N. on aquarium building: I read your article about building an aquarium and it was awesome. I have some queries which may raise in the mind of beginners. 1. The Silicone initial setting time is 3 minutes and hence should one glue the whole of bottom glass (4 lines) and front glass (2 lines) before positioning the front glass or 3 lines in bottom glass and 2 lines in front glass. To put it in other form should line 6 be glued before positioning the front glass. 2. Usually after positioning the panels in position, the professionals go for a secondary gluing (i.e the intersection of all the faces of panels (interior) are glued liberally). Veronica's note: This is usually only done with larger aquariums (55+ gallons), but won't hurt to do as an added precaution. I opted not to do this as I was adding 1/2" diameter acrylic rods in the corners for the base of the table top. These acrylic rods had to be siliconed in and it formed a nice double layer of silicone along each vertical edge when I was finished. 3. For a 10mm thick glass (on larger aquariums), is it ok if the glue line is 5m wide, 4mm from the edge. |
|||||||||||
|
|
|||||||||||
|
Copyright
© Beautiful Dragons. All Rights Reserved.
This website may not be copied or reproduced without my permission. |
|||||||||||